
It was a bright Saturday morning in early spring, the kind where the sun sneaks through the kitchen window and paints everything in a warm, golden glow. I was standing at the counter, the scent of fresh herbs mingling with the faint aroma of buttered toast, when my niece burst in with a grin that could rival the rainbow after a summer rain. “Can we make something colorful?” she asked, eyes wide with the kind of excitement that only a plate of deviled eggs can inspire. The memory of my grandmother’s plain, ivory‑colored deviled eggs suddenly felt a little… dull, and I knew it was time to give this classic a vibrant makeover. That moment sparked the idea for what would become my signature party starter: Rainbow Deviled Eggs, a dish that not only dazzles the eyes but also sings with creamy, tangy flavor.
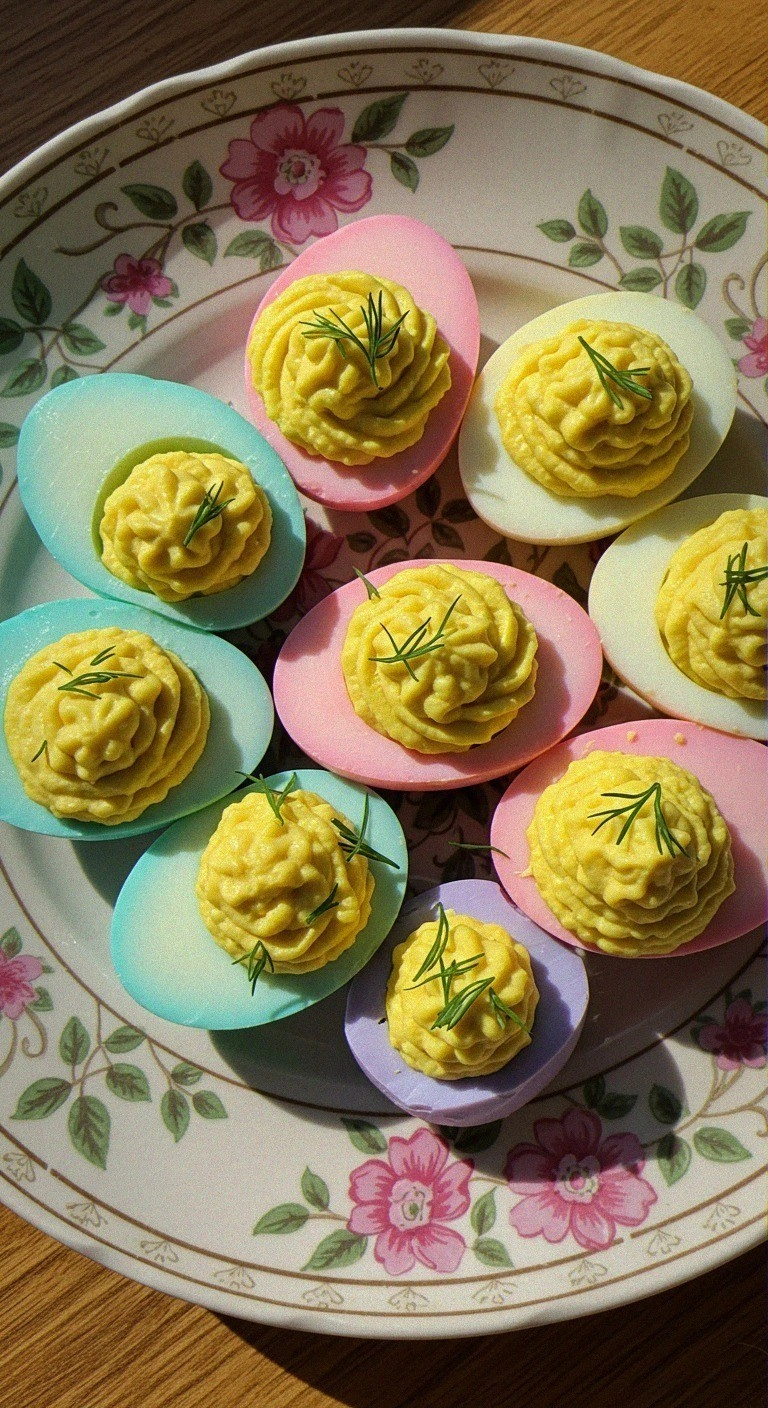
When you first slice into a perfectly halved egg, the yolk‑filled center glistens like a tiny sun, and the anticipation builds as you imagine the burst of color about to unfold. The moment you lift the lid of the mixing bowl, a cloud of fragrant steam—soft mayo, sharp mustard, a whisper of vinegar—hits you, promising a silky texture that coats the palate like a velvet ribbon. The secret? A handful of natural colorings that transform each bite into a miniature work of art, each hue telling its own story of garden freshness and culinary creativity. As you pipe the pink, yellow, blue, and green mixtures back into the egg whites, the plate becomes a kaleidoscope that draws everyone’s gaze, and you can almost hear the soft gasp of delight from your guests before the first forkful even touches their lips.
But wait—there’s more to this recipe than just a visual feast. I’ll walk you through the science behind each ingredient, share the exact technique that keeps the yolk filling buttery smooth, and reveal a little kitchen hack that guarantees your colors stay vivid without any artificial dyes. You’ll learn how to balance the tang of Dijon mustard with the richness of mayo, and why a splash of apple cider vinegar is the unsung hero that lifts the whole dish. And trust me, the secret trick in step four will change the way you think about deviled eggs forever. Ready to turn a humble snack into a conversation‑starting masterpiece? Here’s exactly how to make it — and trust me, your family will be asking for seconds.
🌟 Why This Recipe Works
- Flavor Depth: The combination of Dijon mustard, mayonnaise, and a dash of apple cider vinegar creates a layered taste profile that is both tangy and creamy, ensuring every bite feels luxurious and balanced. The subtle acidity cuts through the richness of the yolk, preventing the filling from feeling heavy.
- Texture Harmony: By gently mashing the yolks and folding in the mayo, you achieve a silky, melt‑in‑your‑mouth consistency that contrasts beautifully with the firm, slightly springy egg white. This textural duet keeps the palate interested from the first bite to the last.
- Ease of Preparation: Despite the eye‑catching colors, the technique is straightforward and can be mastered by anyone, even if you’re a kitchen rookie. The steps are broken down into bite‑sized actions that feel manageable and rewarding.
- Time Efficiency: The entire process, from boiling the eggs to plating, takes under an hour, making it perfect for last‑minute gatherings or a weekend brunch that doesn’t keep you stuck in the kitchen all day.
- Versatility: The base filling can be tweaked with herbs, spices, or even a splash of hot sauce, allowing you to tailor the flavor to any theme, season, or dietary preference without sacrificing the visual impact.
- Nutrition Boost: Using fresh spinach and beet juice not only adds color but also sneaks in vitamins A, C, and iron, turning a classic indulgence into a slightly healthier option that still feels indulgent.
- Crowd‑Pleasing Factor: The rainbow palette instantly draws attention, making it a hit at parties, picnics, or even a simple family dinner. People love to share photos of food that looks as good as it tastes.
- Ingredient Quality: Each component, from farm‑fresh eggs to premium Dijon, is chosen for its flavor purity, ensuring that the final dish sings with authenticity rather than relying on gimmicks.
🥗 Ingredients Breakdown
The Foundation: Eggs & Mayo
Eggs are the canvas of this dish, and selecting the right ones makes all the difference. I always reach for large, free‑range eggs because they have a richer yolk and sturdier whites that hold their shape when halved. The yolk’s natural golden hue provides a subtle base that blends beautifully with the added colors, while the whites act like a neutral backdrop that lets each shade pop. If you’re looking for a budget‑friendly alternative, medium eggs work fine, but you may need to be extra gentle when handling them to avoid cracks. Freshness is key—older eggs are easier to peel, but for this recipe, I recommend a quick ice‑water bath after boiling to make peeling effortless.
Aromatics & Spices: Mustard & Vinegar
Dijon mustard brings a sharp, slightly earthy bite that cuts through the richness of the mayo, creating a balanced flavor profile that keeps the palate from feeling overwhelmed. A teaspoon is enough to awaken the senses without overpowering the delicate egg flavor. Apple cider vinegar, on the other hand, adds a bright acidity that lifts the entire mixture, making each bite feel lighter and more refreshing. If you don’t have apple cider vinegar on hand, a splash of white wine vinegar works just as well, though the subtle fruitiness of cider is my personal favorite.
The Secret Weapons: Natural Colorings
Beet juice gives the pink filling a deep, rosy hue that’s reminiscent of a sunrise over a garden. I love using freshly juiced beets because the flavor is sweet and earthy, adding a subtle depth that powdered dyes can’t match. For yellow, a simple blend of turmeric powder and a teaspoon of water creates a sunshine‑bright color; the earthy undertone of turmeric also adds a whisper of warmth to the flavor. Red cabbage mixed with a pinch of baking soda produces a vivid blue—an unexpected trick that transforms the cabbage’s natural purple into a brilliant azure without any artificial color. Spinach, lightly blanched and pureed, yields a fresh green that’s both vibrant and packed with nutrients. Each of these natural pigments not only adds visual flair but also infuses the filling with a hint of the ingredient’s own flavor profile.
Finishing Touches: Herbs & Garnish
A sprinkle of fresh dill or chives adds a burst of herbal brightness that lifts the entire dish. Dill offers a slightly citrusy, anise‑like note, while chives contribute a mild onion flavor that pairs perfectly with the creamy filling. For an extra layer of texture, consider adding a few microgreens on top; they introduce a delicate crunch and a pop of color that complements the rainbow theme. When selecting herbs, choose those that are vibrant and free of wilt—freshness here translates directly to flavor intensity.
With your ingredients prepped and ready, let's get cooking. Here's where the fun really begins...

🍳 Step-by-Step Instructions
-
Begin by placing the 12 large eggs in a single layer at the bottom of a saucepan and covering them with cold water, ensuring the water rises about an inch above the eggs. Bring the water to a gentle boil over medium‑high heat; as soon as the first bubble forms, reduce the heat to a low simmer and set a timer for 10 minutes. While the eggs cook, the kitchen fills with a subtle, earthy aroma that hints at the richness to come. Once the timer dings, immediately transfer the eggs to an ice‑water bath to halt the cooking process and make peeling a breeze. Let them chill for at least five minutes—this step is crucial for achieving smooth, intact egg whites.
💡 Pro Tip: Adding a tablespoon of baking soda to the boiling water raises the pH, making the shells slip off more easily. -
Remove the cooled eggs from the ice bath, gently tap each one on the counter, and peel them under a thin stream of water to keep any stray shell fragments from sticking. Slice each egg lengthwise, creating a neat pair of white “cups” that will hold the colorful filling. Carefully scoop out the yolks into a large mixing bowl, being mindful not to puncture the delicate whites. As you set the yolks aside, notice their buttery texture—this is the perfect base for a silky filling. Keep the whites on a serving platter; they’ll serve as the canvas for your rainbow masterpiece.
-
Divide the yolks into four equal portions, placing each portion in a separate small bowl. To the first bowl, add ¼ cup of mayonnaise, ½ tsp Dijon mustard, ½ tsp apple cider vinegar, and a pinch of salt and black pepper; mash until smooth. In the second bowl, mix the same base ingredients but stir in a generous drizzle of beet juice until you achieve a pink hue that reminds you of a summer sunrise. In the third bowl, combine the base with turmeric powder and a splash of water, watching the mixture turn a sunny yellow that looks like liquid gold. Finally, in the fourth bowl, blend the base with a spinach puree (prepared by blanching and pureeing fresh spinach) to obtain a fresh, vibrant green. For the blue, take a small portion of the base and fold in a red cabbage slurry (red cabbage boiled with a pinch of baking soda, then blended) until you get a bold azure color.
🤔 Did You Know? Red cabbage changes color with pH—adding a pinch of baking soda makes it turn blue, while a splash of lemon juice would turn it pink. -
Taste each colored mixture and adjust seasoning as needed; a little extra pinch of salt can bring out the flavors, while a dash more mustard adds a pleasant zing. The texture should be creamy, not grainy—if it feels too thick, whisk in a teaspoon of the reserved egg white liquid or a tiny drizzle of extra mayo. This is the step where patience really pays off—over‑mixing can make the filling gummy, so stop as soon as it’s smooth and glossy. Once you’re satisfied, cover the bowls with plastic wrap and set them aside for a brief rest; this allows the flavors to meld and the colors to settle.
💡 Pro Tip: Transfer each colored filling into a piping bag fitted with a large star tip for a professional‑look presentation. -
Now comes the fun part—filling the egg whites. Pipe or spoon the pink mixture into half of the egg white cups, creating a neat mound that looks like a tiny sunrise. Follow with the yellow mixture in the next set, then the blue, and finally the green, arranging them in a rainbow order for maximum visual impact. As you work, notice the contrast between the creamy filling and the firm, slightly rubbery whites—a texture duo that’s both satisfying and elegant. If you’re using a spoon, a small offset spatula can help you smooth the tops for an even finish.
💡 Pro Tip: Dab a tiny bit of water on the tip of the piping bag before each color change to prevent blending of hues. -
Garnish each egg with a delicate sprinkle of fresh dill or chives, adding a pop of green that complements the rainbow while imparting a fragrant herbal note. For an extra touch of elegance, consider adding a few microgreens or a tiny edible flower on top of each egg—these tiny details can turn a simple appetizer into a show‑stopping centerpiece. The aroma of fresh herbs mingles with the creamy filling, creating a scent that’s both inviting and sophisticated. Take a moment to admire the kaleidoscope you’ve created; it’s almost too beautiful to eat—almost.
-
Cover the platter loosely with plastic wrap and refrigerate the assembled deviled eggs for at least 30 minutes. This chilling time allows the flavors to marry and the colors to set, ensuring each bite is as vivid as it looks. While waiting, the kitchen fills with a faint, buttery scent that hints at the indulgent experience about to unfold. If you’re pressed for time, a quick 15‑minute chill still works, but the longer rest yields a more harmonious flavor profile.
⚠️ Common Mistake: Skipping the chilling step can cause the filling to become too soft and the colors to appear muted. -
When you’re ready to serve, bring the platter to the table and watch your guests’ faces light up. The first forkful delivers a burst of creamy, tangy filling that’s perfectly balanced by the subtle snap of the egg white, while the rainbow colors create a visual excitement that makes the dish feel festive. Go ahead, take a taste — you’ll know exactly when it’s right. Pair these deviled eggs with a crisp white wine or a sparkling lemonade for a refreshing contrast that elevates the whole experience.
And there you have it! But before you dig in, let me share some tips that will take this from great to absolutely unforgettable...
🔐 Expert Tips for Perfect Results
The Taste Test Trick
Before you pipe the filling back into the whites, always taste a spoonful of each colored mixture. This quick check lets you adjust seasoning on the fly—maybe a pinch more salt, a dash more mustard, or a splash of lemon juice for brightness. I once served a batch that was a shade too bland; a tiny squeeze of lemon revived the whole dish and saved the party. Trust me, a few seconds of tasting now prevents a whole platter of under‑seasoned eggs later.
Why Resting Time Matters More Than You Think
Allowing the assembled eggs to rest in the refrigerator for at least 30 minutes does more than just chill them; it lets the flavors meld and the colors set. The mayo and mustard bind together, creating a smoother texture, while the natural pigments become more vivid after a short chill. I’ve seen recipes that skip this step, and the result is a muted, watery filling that looks sad on the plate. Patience truly pays off—your guests will thank you for the depth of flavor.
The Seasoning Secret Pros Won’t Tell You
A dash of smoked paprika on the pink filling adds a subtle smoky undertone that elevates the overall profile without overpowering the beet’s natural sweetness. For the yellow, a pinch of ground cumin brings an earthy warmth that pairs beautifully with turmeric. These hidden spices are the little secrets that turn an ordinary deviled egg into a gourmet experience. I once added a whisper of cayenne to the blue mixture, and the slight heat created an unexpected but delightful kick.
Piping Perfection: Tools & Techniques
Invest in a good-quality piping bag and a large star tip (about 1‑inch). This combination creates a classic rosette that looks restaurant‑ready and holds its shape. If you don’t have a piping bag, a sturdy zip‑top bag with a tiny corner cut off works just as well. Practice on a piece of parchment paper first to get a feel for the pressure needed—too much and the filling will burst, too little and the rosettes will be flat. The right technique makes each egg look like a tiny work of art.
Garnish Like a Pro
A final drizzle of extra‑virgin olive oil over the top adds a glossy finish that catches the light, making the colors appear even more vibrant. Pair this with a scatter of microgreens or edible flowers for a pop of texture and a sophisticated look. I once used a few sprigs of baby arugula for a peppery bite that balanced the richness perfectly. The garnish isn’t just for looks—it adds a fresh, herbaceous note that rounds out the dish.
🌈 Delicious Variations to Try
One of my favorite things about this recipe is how versatile it is. Here are some twists I've tried and loved:
Smoky Chipotle Pink
Add a teaspoon of chipotle powder to the pink beet mixture for a subtle smoky heat that pairs beautifully with the earthiness of the beet. The result is a deviled egg that feels both sweet and spicy, perfect for a backyard BBQ.
Herb‑Infused Green
Blend fresh basil or mint into the spinach puree for an aromatic green filling that bursts with garden freshness. This variation is especially lovely in spring when those herbs are at their peak.
Curried Yellow
Swap the plain mustard for a teaspoon of curry powder in the yellow turmeric mixture, and you’ll get a warm, exotic flavor that transports you to a bustling street market. The golden hue becomes even richer with the added spice.
Blue Cheese & Red Cabbage
Crumble a small amount of blue cheese into the blue cabbage mixture for a tangy, creamy bite that adds depth and a sophisticated twist. The pungent cheese balances the mildness of the egg, making each bite unforgettable.
Avocado Cream Pink
Replace half of the mayo in the pink mixture with ripe avocado for a healthier, buttery texture that also adds a subtle green undertone. This version is perfect for a brunch where you want something indulgent yet slightly lighter.
Spicy Sriracha Red
Add a few drops of sriracha to the pink beet mixture for a fiery kick that awakens the palate. The bright red hue becomes even more striking, and the heat pairs wonderfully with the cool egg whites.
📦 Storage & Reheating Tips
Refrigerator Storage
Place the assembled deviled eggs in an airtight container or cover the platter tightly with plastic wrap. They will stay fresh for up to three days in the refrigerator, though the colors are brightest within the first 24 hours. Keep the container on a lower shelf where temperature fluctuations are minimal, and avoid stacking heavy items on top.
Freezing Instructions
While deviled eggs are not ideal for long‑term freezing, you can freeze the yolk filling separately for up to one month. Transfer the colored mixtures into freezer‑safe bags, label them, and thaw in the refrigerator overnight before using. The egg whites themselves should remain fresh only in the fridge; freezing them can cause the whites to become rubbery.
Reheating Methods
If you need to serve the eggs warm, a gentle steam is the safest method. Place the eggs in a steamer basket over simmering water for just two minutes—enough to warm the filling without drying it out. Alternatively, a quick zap in the microwave (10‑15 seconds) works, but be sure to cover them with a damp paper towel to retain moisture.


